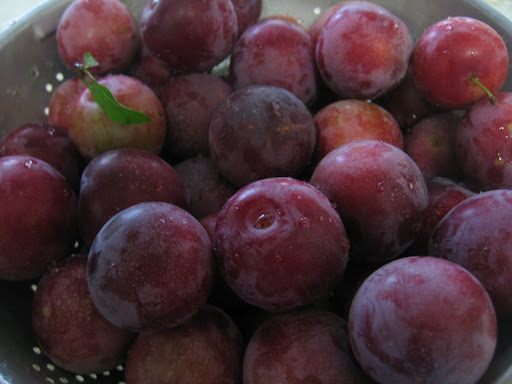
 Above: The most recent harvest of plums from the garden
 When I saw the abundance of plums we’ve had this year, I promised myself this was the year I’d learn how to make jam. With last year’s bizarre weather (and random cold fronts in the summer), all the flowers on the fruit trees died prematurely. So when this summer came around and the trees began to fruit… (and man did they fruit!), I decided I wanted to do something productive and useful with the fruit.
In the past, I’ve only made apple pies and pear pies. I never did anything else, and I never did anything to the plums except eat them. This year, I needed a change. And as promised earlier this month, making plum jam is one of my newest adventures!
Below: My pretty face with the final product!

First, I had to gather the ingredients: Plums, Sugar, and Fruit Pectin!


I had the hardest time finding the fruit pectin in the store. I looked up and down the baking aisle, the aisle with all the canned fruit and vegetables, the cooking utensil aisle… Nothing! Finally I asked a store manager who pointed me in the right direction. Can you believe that the fruit pectin was sold near the Zip Lock bags. Craziness, I tell ya!
Anyway, the instructions on the fruit pectin weren’t exactly clear on how I needed to sterilize the Mason Jars. They recommended a pressure cooker, which I don’t have. So I decided to ‘wing it’ as they say. I unscrewed the Mason Jars and placed them in a pot of water. I boiled the jars and lids about 10 minutes.
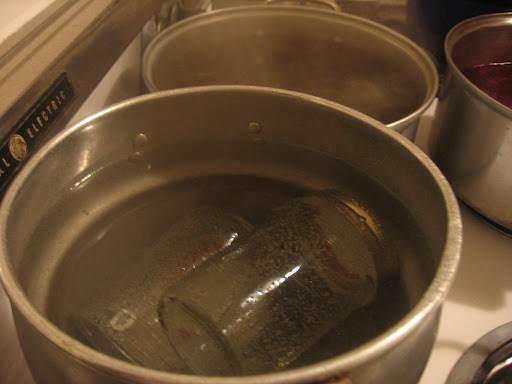
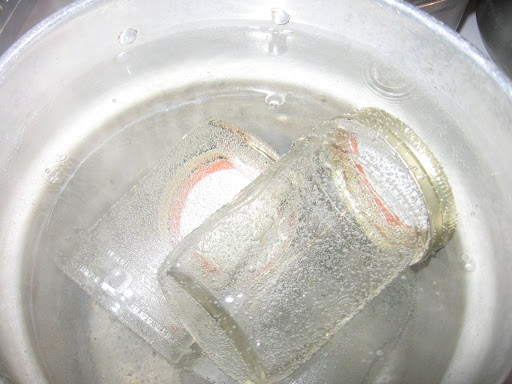
Below: The mason jars and lids in almost boiling water... It looks like the lids are fastened on the jars, but they weren't
After the water boiled for several minutes, I turned off the heat but didn’t take the pot off the burner. I figured I’d let them cool down while I continued to prepare the jam.
Making the jam itself wasn’t very difficult. According to the directions, I needed 3 pounds of plums. I didn’t know if this meant cut or whole plums, but I decided it must mean chopped plum pieces. (My sister and
Below: Two views of the chopped plums... Does it look red and delicious?


The recipe also called for 7 ½ cups of sugar. (That’s A LOT of sugar). We were worried that we didn’t have enough in the cupboard, but fate was on our side! We were at my American grandmother’s house (not my biological grandmother who is in

Above: The plum mixture at the beginning of the process
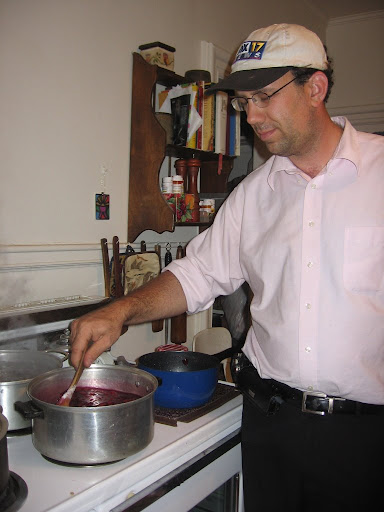
Next, I took out a large pot and combined ½ cup of water with the 6 cups of plums. I heated it, and right before it came to a boil, I stirred in all of the sugar. From this point,
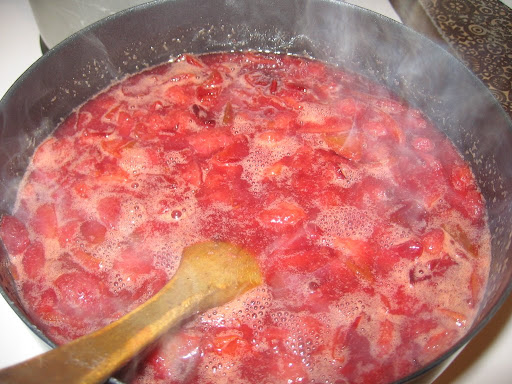
Below: A view of the plum mixture as it is starting to boil after the addition of the sugar.
Cam, the Jam Maker. Doesn't he look cute in pink?
After the mixture came to a rolling boil, we added the fruit pectin and continued stirring for one minute. We turned off the heat and moved the pot away from the burner. There was foam at the top of the mixture. I read that adding the margarine will help prevent the foam from forming. Unfortunately, we did not do that.
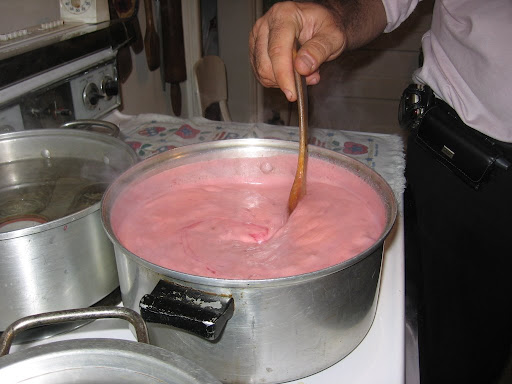
We gingerly ladled off all the foam, trying not to take too many chunks of plum out of the mixture. The pink color was very pretty. Pink was the color of the night. Three people in the dinner party wore pink!
Below: Another view of the foam.

I sterilized my kitchen tongs. (I held them in boiling water for a few minutes). Using the tongs, I grabbed the mason jars, one at a time, and placed them on a towel next to the stove. I ladled the jam into each mason jar, and
Below: The final jam mixture before it was placed in the mason jars

I just recently read an article recommending that you “process” the jars after you add the jam to it. (You have to boil the jar in water for 5 minutes or so). Unfortunately, I read that article 3 hours too late. I figured, I probably made a few mistakes in this jam canning process, but I’m sure the jam is still edible and will good for a while. I don’t expect we’ll keep it around for a year. It’ll be all gone and in our bellies by then!
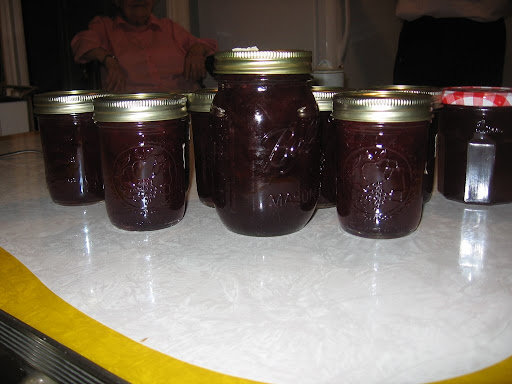
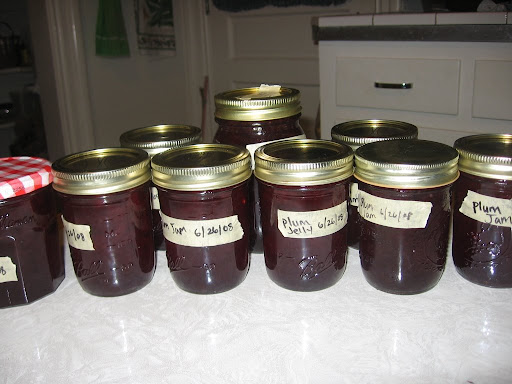
Below: Several views of our final product! Sadly, it has to be settle for 24 hours before we can open a jar and try it out!


12 comments:
Great job DP and helpers! Plum jam is my most favorite of all jellies and jams. My grandmother used to make it on her back porch in a thing that looked like a still with tubing to condense the steam. I am sure your jam is all right without the final processing, but would keep it refrigerated just to be safe if it were me. When I tried pickles, canning, etc. the lack of the right equipment was a problem. Maybe you can find some canning stuff on ebay? I need to get some too and do it right. I have noticed that the canning stuff is with the baggies, etc. at the store here too. Now we know! How much margarine do you add to keep the foam down? It would be a shame to waste any of the valuable concoction.
Good job! Making jam is not an easy thing to do. I am with Frances, I think I would keep it refrigerated too. Final processing is important to seal the jars. You can tell if they are sealed if when you push in the center of the top it does not pop up and is sealed with suction I guess it is called.
Hi Frances, I'm not a huge fan of jam, but I do enjoy eating it on rice crackers and cheese. I think the jam should be okay to eat. My american grandmother had made pepper jelly years ago when she was a child, and I followed her guidance and memory. Hopefully it works. I'm sorry to hear about your lack of success. I think some stores do carry canning equipment, but there's not much information about canning out there... Not that many people can anymore. Very sad. I think you have to add 1/4 cup of margarine for the foam. Good luck with your next canning adventure!
Hi Tina, All of the jars that we made last night are completely sealed. I heard the loud popping as they cooled down last night. I think this must mean they are safe? I hope so! I will refrigerate them, thanks for the suggestion!
A lot of canning still goes on here in the Deep South (GA) Lots of items in the canning isle. I dont can but I should.
I would watch my grandmother can and it looked like so much work to me that I did not take an interest. I wish I had.
Your final product looks yummy! Let us know how it tastes...
That looks delicious. I used to make jam all the time, but got out of the habit of making it. Your post makes me want to whip up some hot pepper jelly. Yum.
Hey Skeeter- I've had a small taste of the jam, and it is so delicious! Yummy!!!! It's very sweet, but it also has a tart flavor to it too. I can't wait to make more.
Hi Daphne! I would recommend making that hot pepper jelly. Nothing tastes quite as satisfying than when you make it yourself!
You made the jam, good job! Did you use the kraft recipe?
The main reason for all the sugar is it creates an environment that things like bocholism can not survive.
Also like the previous posts I would keep it in the fridge if you did not do the final process.
Next time wipe out the jar threads/rim, place the lids on tight and then lightly boil them for the 5 minutes. Then you can store them in the cupboard until the seal is broke.
DP, You can also use parifin wax melted with a looped wick ontop of jam, make sure you wipe the sides of the jar, tap the bubbles out of the jam, and add about 1 inch of wax. That replaces the boiling to seal and you can pull it out easily with the looped wick. This is another acceptable way for jams and jellies. All the jars look yummy! I miss canning but hope to get back to it. Hot water bath for the jars is acceptable for tomatoes because of the high acid content but not beans because they mold, need a canner for them.
Looks great! You did have a bounty of plums, huh? Unfortunately, I find myself with enough to eat, but not enough to preserve. I have added some strawberries to the freezer, but not much else is getting preserved around here.
Hey Dan, I used the directions on the package of pectin. Anyway, it turned out to be so delicious. What do you wipe the lids with? wouldn't that make it not as clean? I just used tongs and shook all the water off.
Hi Dawn, thanks for the advice about the wick... sadly, i'm really not great with candles and wick. i think i'd need a visual to see how to do it properly. i will give it a water bath next time... which sounds like i'll be soon! I'd love to can my tomatoes, if I actually have enough harvest this season.
One acre homestead, hopefully you'll have more fruit from your garden next year! enjoy your fresh fruits and veggies while they last!
You wipe the threads/rim of the jar after filling them with a clean kitchen cloth just to make sure there is no jam on it. If there was jam left on the threads/rim it could create a germ highway.
The steps are more for if you want to store the jam in a cupboard for a year or more. Yours will be fine in the fridge, I just thought I would let you know in case next season you make up lots of jam and want to store it in your pantry.
Oh, wow, that jam looks spectacular.
Post a Comment