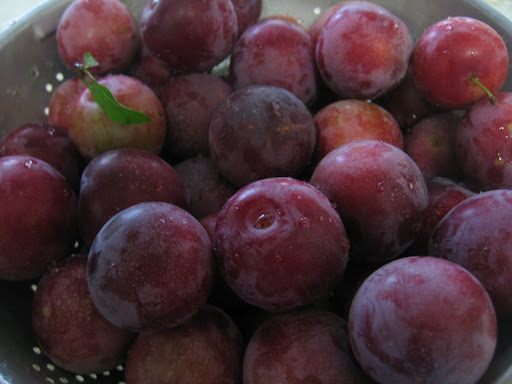
 Above: The most recent harvest of plums from the garden
When I saw the abundance of plums we’ve had this year, I promised myself this was the year I’d learn how to make jam. With last year’s bizarre weather (and random cold fronts in the summer), all the flowers on the fruit trees died prematurely. So when this summer came around and the trees began to fruit… (and man did they fruit!), I decided I wanted to do something productive and useful with the fruit.
In the past, I’ve only made apple pies and pear pies. I never did anything else, and I never did anything to the plums except eat them. This year, I needed a change. And as promised earlier this month, making plum jam is one of my newest adventures!
Below: My pretty face with the final product!

First, I had to gather the ingredients: Plums, Sugar, and Fruit Pectin!


I had the hardest time finding the fruit pectin in the store. I looked up and down the baking aisle, the aisle with all the canned fruit and vegetables, the cooking utensil aisle… Nothing! Finally I asked a store manager who pointed me in the right direction. Can you believe that the fruit pectin was sold near the Zip Lock bags. Craziness, I tell ya!
Anyway, the instructions on the fruit pectin weren’t exactly clear on how I needed to sterilize the Mason Jars. They recommended a pressure cooker, which I don’t have. So I decided to ‘wing it’ as they say. I unscrewed the Mason Jars and placed them in a pot of water. I boiled the jars and lids about 10 minutes.
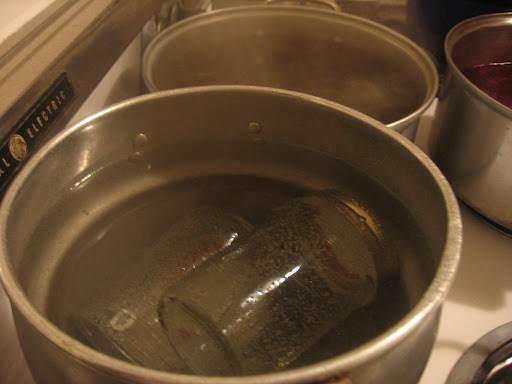
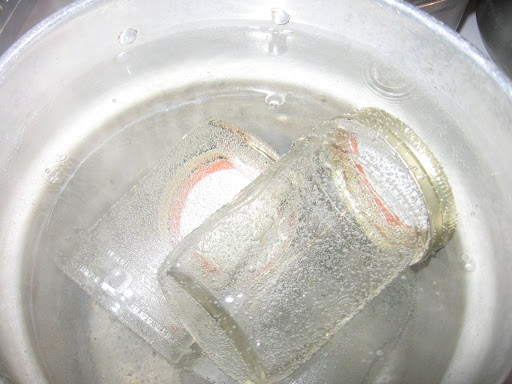
Below: The mason jars and lids in almost boiling water... It looks like the lids are fastened on the jars, but they weren't
After the water boiled for several minutes, I turned off the heat but didn’t take the pot off the burner. I figured I’d let them cool down while I continued to prepare the jam.
Making the jam itself wasn’t very difficult. According to the directions, I needed 3 pounds of plums. I didn’t know if this meant cut or whole plums, but I decided it must mean chopped plum pieces. (My sister and Cam were with me to help during this process). I cut and chopped the plums, keeping the skin on and discarding the pit. Turns out that 3 lbs ended up being 6 cups full of cut plums.
Below: Two views of the chopped plums... Does it look red and delicious?


The recipe also called for 7 ½ cups of sugar. (That’s A LOT of sugar). We were worried that we didn’t have enough in the cupboard, but fate was on our side! We were at my American grandmother’s house (not my biological grandmother who is in Vietnam, but one that I consider my surrogate/adopted grandma) for her 94th birthday. We only found 7 cups of sugar in the sugar tin, but my American grandmother had stored small amounts of sugar in two other places in the house. So we used up ALL the sugar and we were able to get the required 7 ½ cups!

Above: The plum mixture at the beginning of the process
Next, I took out a large pot and combined ½ cup of water with the 6 cups of plums. I heated it, and right before it came to a boil, I stirred in all of the sugar. From this point, Cam took over the cooking.
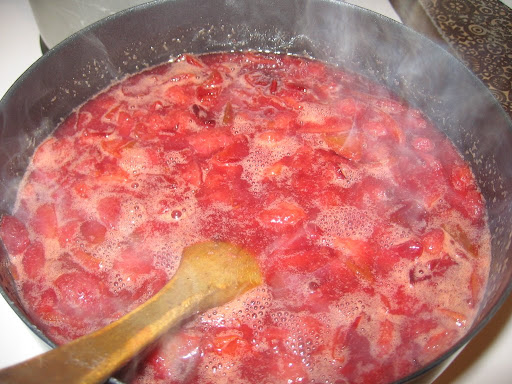
Below: A view of the plum mixture as it is starting to boil after the addition of the sugar.
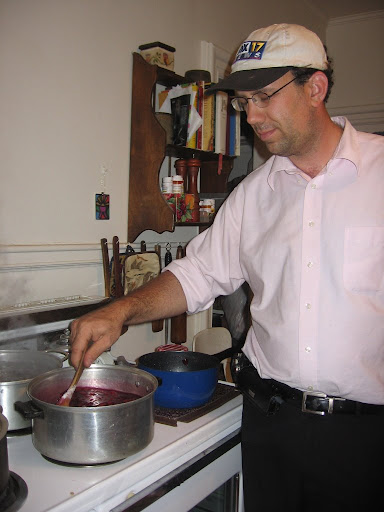
Cam, the Jam Maker. Doesn't he look cute in pink?
After the mixture came to a rolling boil, we added the fruit pectin and continued stirring for one minute. We turned off the heat and moved the pot away from the burner. There was foam at the top of the mixture. I read that adding the margarine will help prevent the foam from forming. Unfortunately, we did not do that.
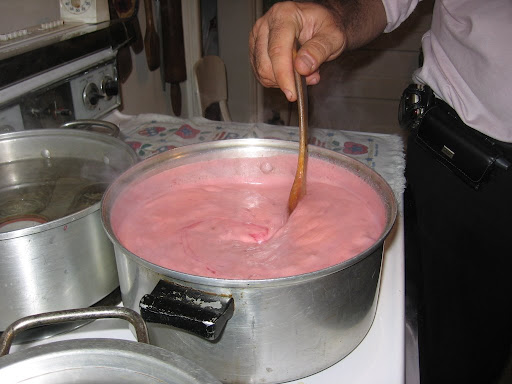
We gingerly ladled off all the foam, trying not to take too many chunks of plum out of the mixture. The pink color was very pretty. Pink was the color of the night. Three people in the dinner party wore pink!
Below: Another view of the foam.

I sterilized my kitchen tongs. (I held them in boiling water for a few minutes). Using the tongs, I grabbed the mason jars, one at a time, and placed them on a towel next to the stove. I ladled the jam into each mason jar, and Cam screwed on the lid.
Below: The final jam mixture before it was placed in the mason jars

I just recently read an article recommending that you “process” the jars after you add the jam to it. (You have to boil the jar in water for 5 minutes or so). Unfortunately, I read that article 3 hours too late. I figured, I probably made a few mistakes in this jam canning process, but I’m sure the jam is still edible and will good for a while. I don’t expect we’ll keep it around for a year. It’ll be all gone and in our bellies by then!
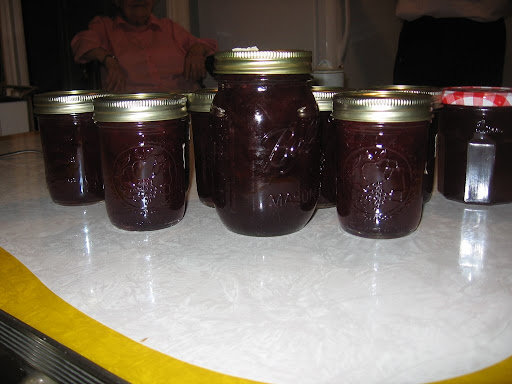
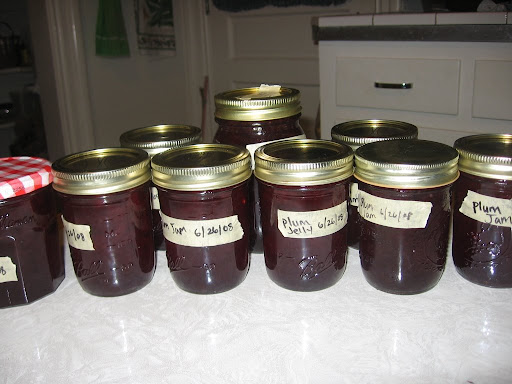
Below: Several views of our final product! Sadly, it has to be settle for 24 hours before we can open a jar and try it out!

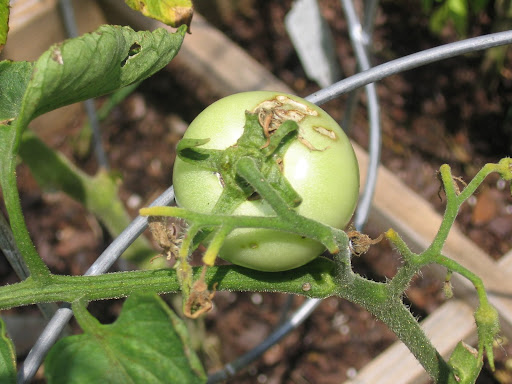
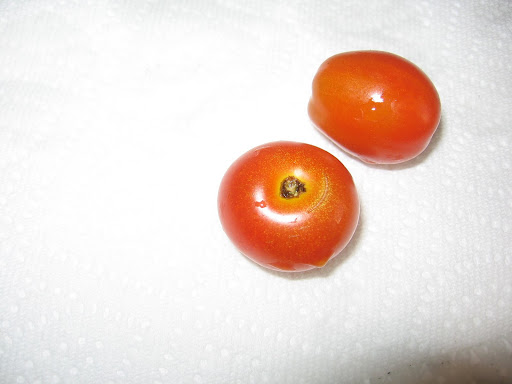
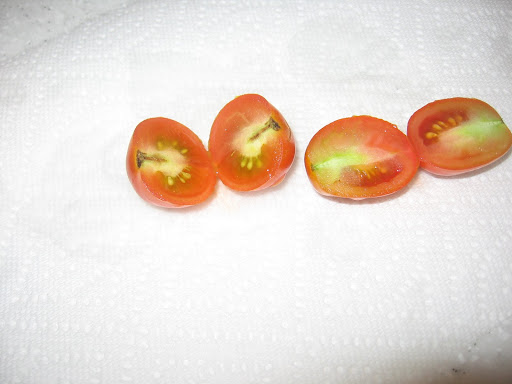
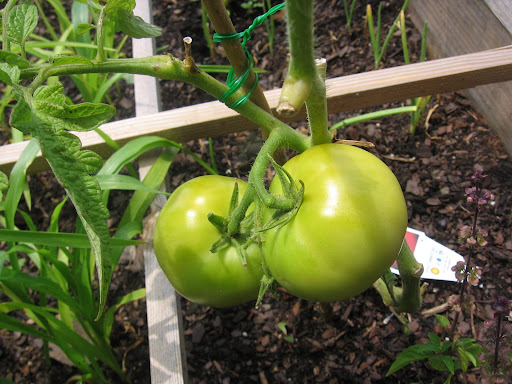
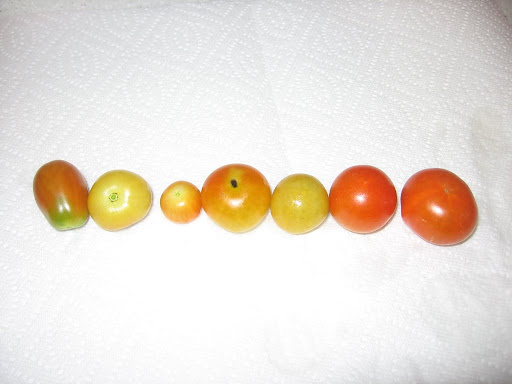 Sadly, on about three of the tomatoes, there is a little bit of blossom end rot. It's not horrible, and the tomatoes are still edible. It's more annoying than anything else. Luckily, the larger varieties of tomatoes don't have any signs of this fatal disease... not yet anyway. I'm keeping an eye on it.
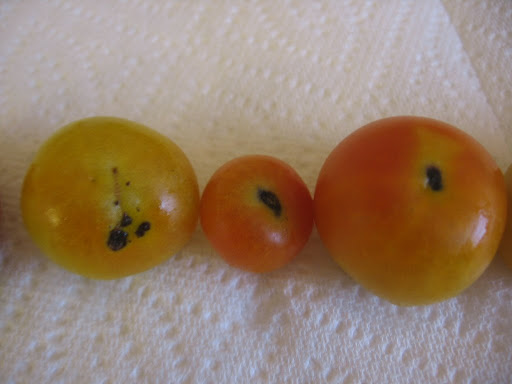
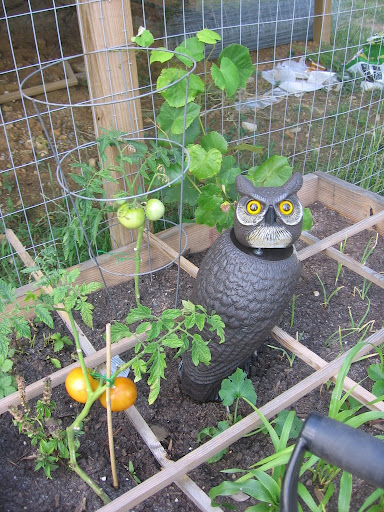 We do move his position every few days, so maybe the birds will think he's actually real. My kitten, Luka, is scared to death of him. If we place the owl near her, she starts walking sideways, with her claws all out and her hair on its end. It's really cute. She hasn't pouched at him yet, but we try to keep the two separated!