Thursday, August 28, 2008

DP's Homemade Apple Pie

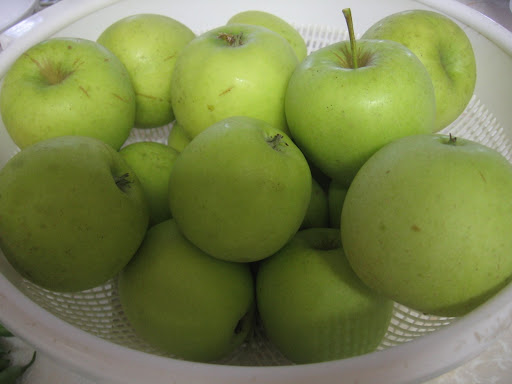
The apple trees in my parents' yard are still heavy with lots of delicious apples. This year, I had planned to make apple sauce, apple butter, and lots of apple pie. So far, the only thing I've done is make apple pie.

I don't have much time to experiment with different recipes, so I still plan to learn how to make all those delicious apple dishes... I just don't know. The good news is that the apple tree produces delicious apples every year, so I have lots of time on my side.

Below: My recent apple harvest

Today I want to share my special apple pie recipe. I also make pear pie, using the same recipe and substituting apples for pears. We're not big pear fans, so pear pie is a lovely substitute. Plus, it tastes exactly like apple pie.

Below: My Apple Pie
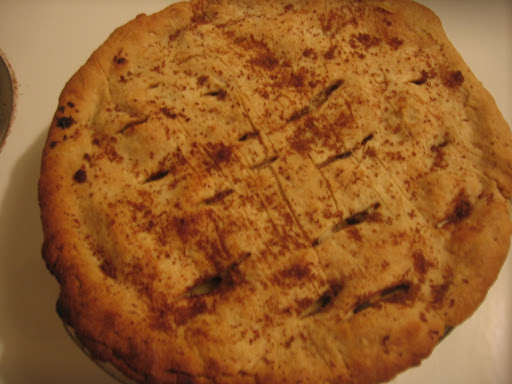

I made this apple pie for my writer's group last month, and everyone loved it. I got rave reviews. So if you have the time and the extra apples, I would recommend trying this dessert. It is YUMMY!

A little history on this pie: this recipe was first used by my American grandmother's mother. I've made a few changes to the pie filling, but the pie crust recipe is hers. It is a delicious and easy crust.

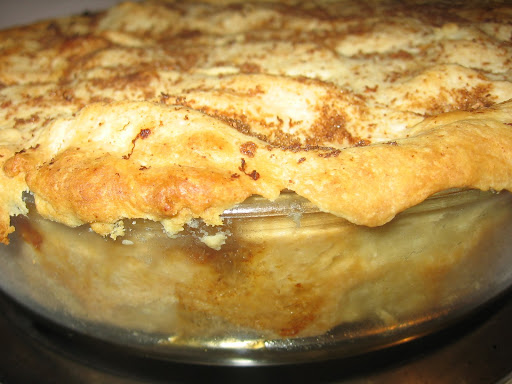
Below: A side view. I used the wrong dish to cook the pie in. Instead of using a pie pan, I used a cake pan... but it still turned out delicious!

DP's Special Apple Pie

For the crust:

2 cups flour
1 teaspoon salt
2/3 cup Crisco (butter can be used, if you prefer)
1/4 cup water

For the pie filling:

5 to 6 medium-sized baking apples, cored and sliced thin
1/2 to 2/3 brown sugar (tart apples need more sugar)
1/8 teaspoon salt
1 to 1 1/2 tablespoons cornstarch (very juicy apples need more cornstarch)
2 cinnamon sticks (or 1/4 teaspoon cinnamon, add more or less, depending on your taste)
1/8 teaspoon nutmeg
1 1/2 tablespoons butter

Preheat oven to 450 degrees.

First, make the crust. Sift the flour and salt in a bowl. Take out 1/3 cup of the flour and add 1/4 cup of water to form a paste. Add the Crisco to the remaining flour. Using a pastry blender, cut the Crisco into the flour until the mix becomes the size of small peas. Next, add the flour paste to flour mixture. Mix until the dough can be shaped into a ball. Roll out until large enough to fill a pie pan. (Use excess dough for top crust.)

For the pie, combine apples, sugar, salt, cornstarch, grated cinnamon, and nutmeg in a large bowl. Stir until apples are well coated. Place them in layers in the pie shell. (Optional: dot with butter). Cover with a prickled upper crust (made from excess dough). Sprinkle the top with brown sugar and cinnamon.

Bake the pie at 450 degrees for 10 minutes. Reduce the heat to 350 degrees and bake 35-45 minutes until done.

Enjoy!

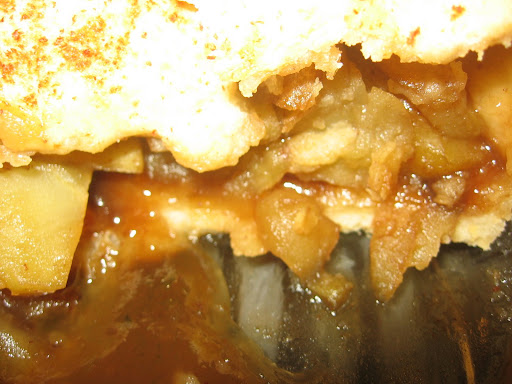
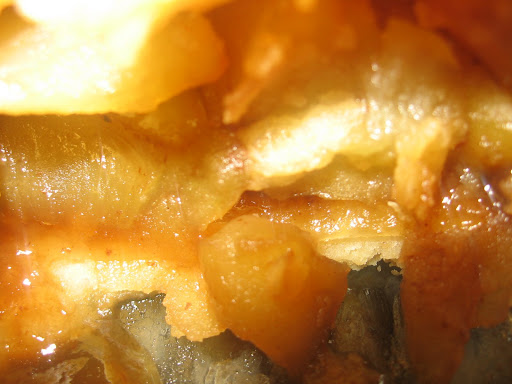
Below: The filling of the pie. So gooey and so yummy!
Wednesday, August 27, 2008

Roma Tomatoes and Fall Carrots

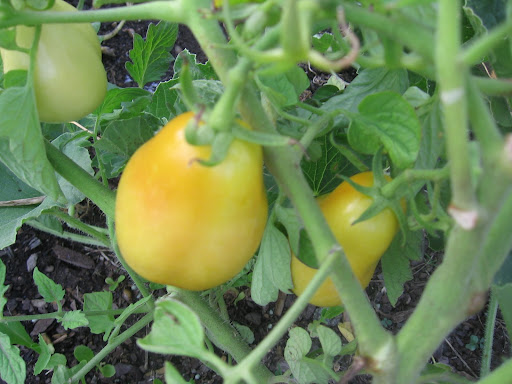
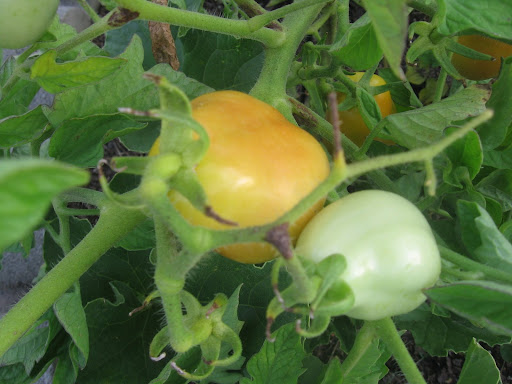
I love tomatoes, so it shouldn't be a shock to you that I'm also growing Roma tomatoes in the garden. I haven't mentioned these before because I've been having some bird trouble with these. It seems that as soon as they turn yellow, the birds come and poke big holes in them. I don't notice until I come and decide that it's time to harvest. Well no more! I've decided to start harvesting them early. As soon as they turn yellow, these babies are coming inside and ripening on the windowsill.

Below: My beautiful Romas

Another mistake of mine was not caging this plant. I should have, but due to laziness and life's business, I let this plant slip. I caged the other tomatoes because I planted them early in the season. I didn't plant the Roma until July, when life was getting very busy for me. Despite this, they are growing very well. The plant is on its side, which probably isn't good for it, but it produces tomatoes, and that's all I really care about.

I definitely think I should cage it soon. I'm getting there... The tomatoes are pretty delicious, and I love their oval shape. They are a nice size too. I've never bought Romas at the grocery store, so I wasn't sure how large they would get. But some are pretty big.

Onto carrots.

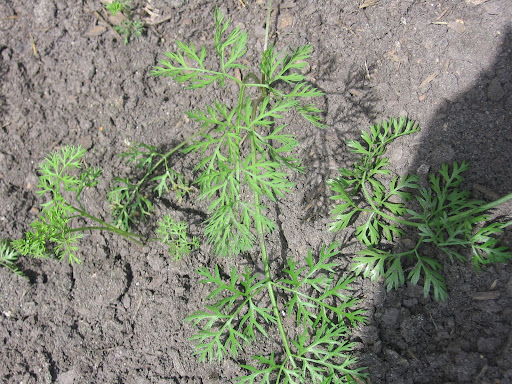
In the end of July, I planted more carrot seeds. I figured these would be my fall carrots. Now in middle Tennessee, it doesn't get very cold until mid-October, so I hope that these will survive and produce well.

Below: The carrots a few weeks ago

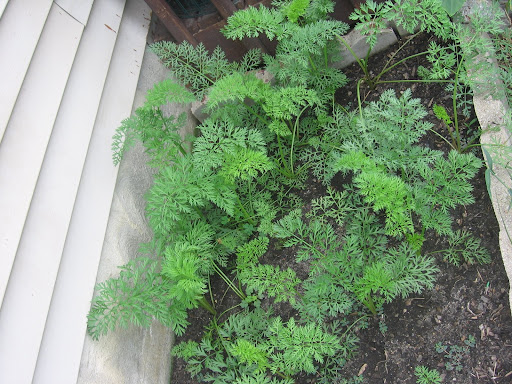
Below: The carrots now

I'm thinking I'll need to thin them out. But I have such a hard time doing it! I am a horrible gardener. I never want to thin out and throw away anything that I've planted. This will result in small carrots, I know. I will try to see if I can force myself to do it.

We'll see...

Tuesday, August 26, 2008

Lone Bell Pepper

Isn't it interesting that some plants tend to do better than others, even when they are growing in the same soil? I find this extremely interesting.

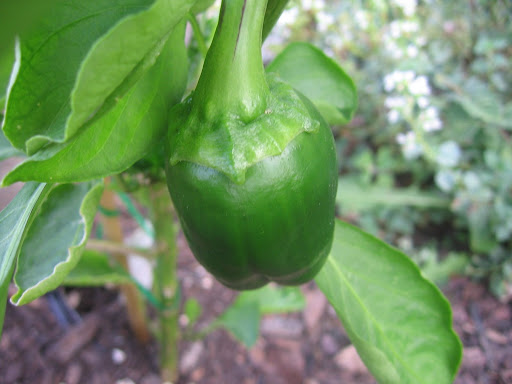
This rings true for me. I have several bell pepper plants, but my harvest has been slow and rare. My red bell pepper plant in the front veggie bed has finally fruited... after two months of being dormant.

In May/June, it grew this beautiful red bell pepper. It was small, but still very red and very cute. But before I was able to harvest it, a bug or animal took a big chunk of it. So it was not edible. Finally, the same plant has begun to fruit more peppers.

Below: The new bell

I had given up on the plant. I figured it was dead. And I am very happy to see this new growth. The same plant is also flowering. There are two more flowers that are ready to give birth.

In the backyard, the bell pepper plants look awful. I've harvested two bell peppers from two different plants. Since then, I've seen nothing. Oh well. I wonder what I am doing wrong.

Bell peppers love heat, and it's been pretty hot here. Maybe there is something missing in the soil. I did add more manure to my soil, and that helped the other vegetables, but not the bell peppers.

Next year, I will devote either an entire raised bed or a square foot box to one plant or vegetable. That way, I can make sure that the soil composition is the same, and hopefully they will thrive.

Until next year, I am back to fall planting...

Monday, August 25, 2008

Death of Zucchini

It is with great sadness that I report that my zucchini plant is dying. We have three plants in total; one is about to die and two are hanging on but no female flowers.

Growing zucchini has not been so great for us this year. I don't know why. Maybe it's the lack of correct nutrients in the soil, lack of rain, lack of space... but we only were able to harvest TWO zucchinis this year. Only TWO from an entire season!

Next year, I don't think I will grow the zucchini in the Square Foot Garden. I just don't think the square foot is big enough to accommodate its growth. They really do grow very large, and their stems and leaves are huge.

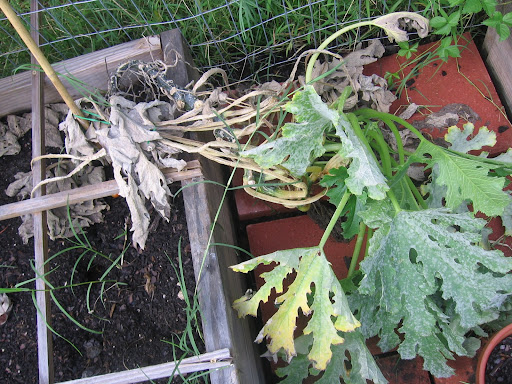
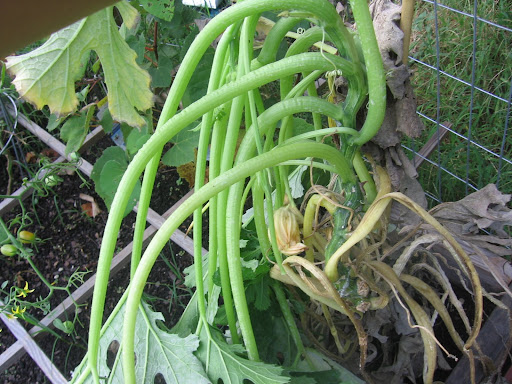
Below: The poor plant hanging over the SFG box

As you can see, the leaves are still green, but closer to the stem, it's all brown and dried up. It looks pretty dead to me. The plant is no longer fruiting--there are no more female flowers that give me any hope of future zucchinis.

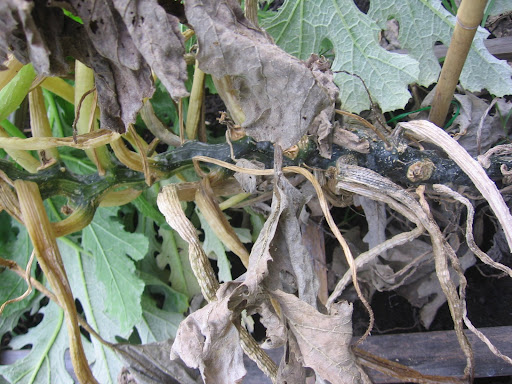
Below: The dried stem of the zucchini

It's a bit strange that the stem is all dried but the leaves and branches of the zucchini plant are green and look healthy. But the entire plant is just too big for the square that it is planted in. I guess I didn't realize how large the zucchini plant actually grows. I tried to use a bamboo stick and try to make the plant grow vertical, but it didn't work.

Below: The beautiful green branches and leaves of the zucchini plant

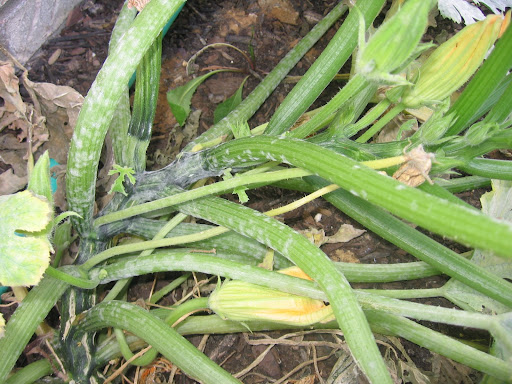
And sadly, all the new flowers on the plant are male ones. I haven't seen any female flowers in such a long time. There were a few female flowers a few weeks ago, but they wilted away.

Below: Male flowers only...

Next year, I will plant these zucchinis in a vegetable raised bed. I hope they will do better next year. I'll need to research on what makes growing zucchinis an easier process.